How to Change the Tail Light on a Ford Escape
Ford Escape Tail Light Change Tools & Materials
Ford Escape Tail Light Change Tools & Materials

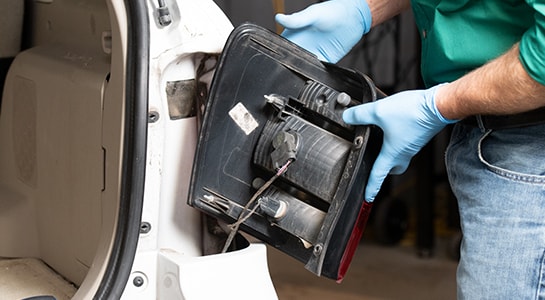
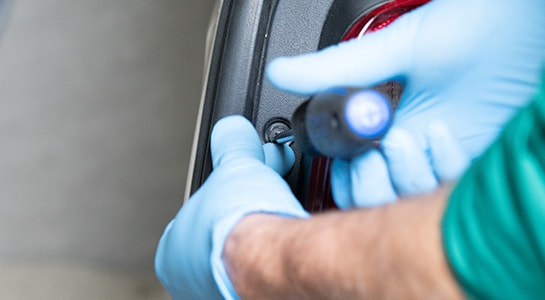
Step 1: Remove the Old Tail Light Bulb


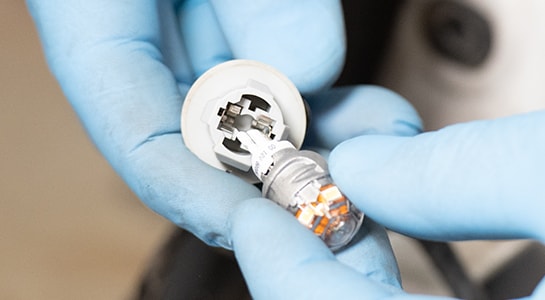
Step 2: Install the New Tail Light Bulb
|
Do It Right: Use a small amount of bulb grease or dielectric grease on the bulb connection to prevent socket corrosion and ease installation, especially if the bulb you’re installing could potentially get wet. |


Additional Resources
These step-by-step instructions and video detail how to replace the tail light bulbs on your 2008, 2009, 2010, and 2011 Ford Escape. The replacement procedures will be similar for select Ford Escape SEL models between 2009 and 2011. Replacing a faulty or failing tail light helps you abide by state road laws, and makes other drivers aware of your vehicle’s presence and intended direction. If you notice that your 2008 to 2011 Ford Escape's tail light bulbs are not working or only function sporadically, it is important to replace both bulbs as soon as possible to ensure you are safe on the road.
The automotive repair work depicted in this series is performed under the direction of the manufacturer of the product featured. Prior to undertaking any of the demonstrated repairs on your vehicle, we suggest you consult with a certified mechanic or another professional who can adequately advise you of the proper repair or remedy required. O’Reilly Automotive Stores, Inc. and its affiliates (“O’Reilly”) disclaims any responsibility for injury or damage resulting from a viewer’s attempt to recreate the repairs shown in this series.

 Safety Glasses
 Nitrile Gloves
 8mm Socket
 Phillips Screwdriver
 Dielectric Grease


